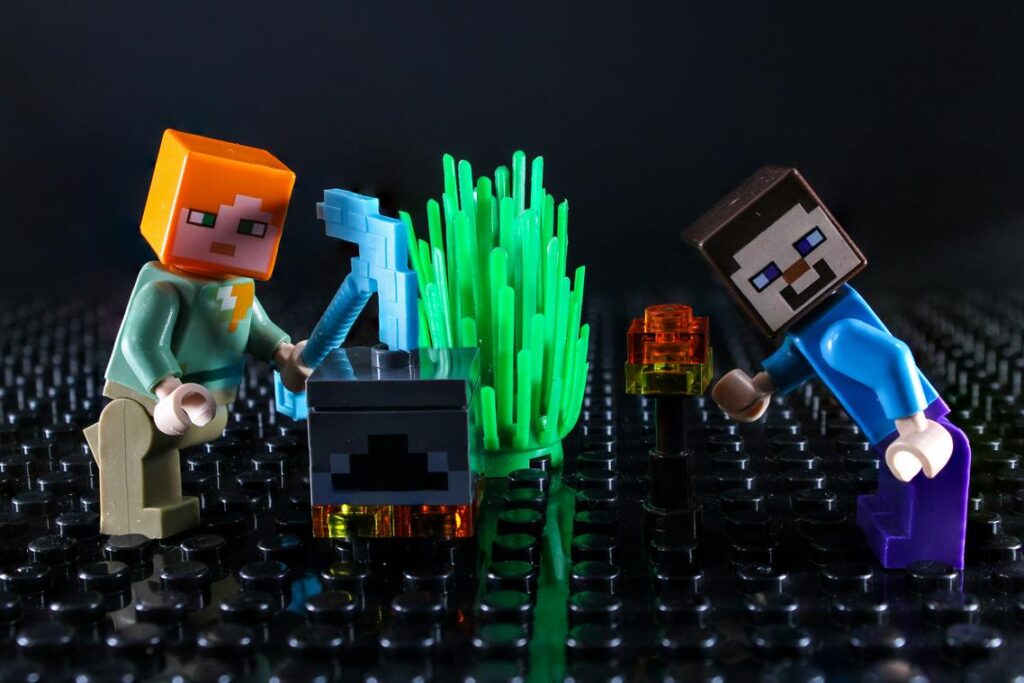
I’ve spent more time dealing with ice in Minecraft than I’d like to admit.
You’re probably here because ice keeps forming where you don’t want it. Maybe it’s messing up your water-based farm or slowing you down in a cold biome. Breaking it block by block gets old fast.
Here’s what most players don’t realize: there are way more ways to melt ice than just placing torches everywhere.
I tested every light source and heat method across different Minecraft versions. Some work better than others depending on what you’re trying to do.
This guide covers every single way to thaw ice in the game. Not just the common methods. All of them.
You’ll learn which heat sources work best for different situations. Whether you’re in survival mode trying to save resources or in creative mode working on a massive build, there’s a method here that fits.
We’re talking practical solutions you can use right now. How to unfreeze water in minecraft altwayminecraft breaks down into light sources, heat blocks, and some tricks you might not have thought of.
No fluff. Just the methods that actually work and when to use each one.
The Standard Method: Direct Light Sources
You want to melt ice in Minecraft? Put a light source next to it.
That’s the short answer. But let me break down how to unfreeze water in minecraft altwayminecraft style so you actually know what you’re doing.
Here’s what matters. Ice melts when a block (not sunlight) gives off a light level of 12 or higher right next to it. That’s the mechanic you need to remember.
Top-Tier Light Sources
These all hit light level 15. They’ll melt ice fast.
Torches are your best friend early game. Stick one coal and one stick together and you’re done. Cheap and they work. I put these everywhere when I’m clearing ice.
Glowstone sits flush with ceilings which looks clean. You need four glowstone dust to craft one block. It’s pricier but worth it if you care about aesthetics.
Sea Lanterns work underwater (obviously useful if you’re dealing with frozen ocean). Craft them with five prismarine shards and four prismarine crystals. They look good too.
Jack o’Lanterns need a carved pumpkin and a torch. They’re seasonal but functional.
Lanterns hang from ceilings or sit on floors. Iron nuggets plus a torch gets you one. They spread light in a nice radius.
Mid-Tier Options
Sometimes you need alternatives.
Redstone Lamps hit light level 15 but only when powered. You need redstone dust and glowstone. They’re great for builds with switches but annoying if you just want permanent light.
Conduits work when active and you’re near water. Light level 15. But the setup is complicated for just melting ice.
Shroomlights from the Nether give light level 15. If you’re already there grabbing materials, bring some back.
Placement Tips
Don’t just drop torches randomly.
Embed light sources in walls or under glass floors. This melts big ice patches without cluttering your space. One torch can affect multiple ice blocks if you position it right.
I usually place them in a grid pattern. Space them out based on the light radius and you’ll cover more ground with fewer resources.
Alternative Ways: Proximity Heat Sources (No Light Required)
You know what most players don’t realize?
Light level isn’t the only way to melt ice in Minecraft.
Some people swear by torches and glowstone. They’ll tell you that’s all you need. And sure, those work fine if you’re just trying to keep a small pond from freezing over.
But what if you’re building something bigger? What if you want how to unfreeze water in minecraft altwayminecraft without covering everything in ugly light sources?
That’s where proximity heat comes in.
Lava is the beast of the bunch. Drop a bucket of lava and watch ice melt in a three-block radius in every direction. The orange glow flickers against stone walls, and you can actually feel the danger radiating from it (even if your character can’t).
Here’s the catch though. Lava doesn’t care what it burns. Wood, wool, your entire build if you’re not careful. I learned this the hard way when a lava feature turned my wooden dock into charcoal.
The fix? Contain it behind glass blocks. You get the heat, the visual effect of molten rock bubbling away, but none of the destruction.
Magma blocks are your safe option. Place one under water and it creates this eerie column of bubbles that pulls you down. But more importantly, it melts ice directly above it and in adjacent blocks. No light. No fire risk. Just steady heat seeping up through your floor.
I use these in underwater bases all the time. They’re subtle. You can walk right over them (though the damage adds up if you’re not wearing boots).
Campfires hit different. The crackling sound, the smoke particles drifting up, the warm orange glow. They melt ice in a two-block radius and you can cook food on them while you work. Soul campfires do the same but with that haunting blue flame that makes everything feel colder even though it’s not.
Best part? They don’t spread fire to nearby blocks.
So which one should you use? Lava melts fastest and covers the most area but needs babysitting. Magma blocks work great for floors and underwater spots where you want something permanent. Campfires are perfect when you want function and atmosphere in one block.
Think about what you’re building and pick the heat source that fits.
Strategic Applications: Why and Where to Melt Ice
Knowing how to melt ice is one thing. Understanding when and where to do it? That’s what separates new players from experienced builders.
I’ve been playing Minecraft for years now, and I still see people struggling with frozen water in their builds. They set up a perfect mob farm only to find it broken after one night in a taiga biome.
Here’s what actually matters.
Creating Infinite Water Sources
You need water for farms. You need it for potions. And if you’re building in a snowy biome or up in the mountains, ice becomes your biggest problem.
I learned this the hard way back in 2020 when I spent three hours setting up a wheat farm at altitude. Came back the next day and everything was frozen solid.
The fix is simple once you know it. Place your water source blocks and immediately add light sources nearby. Torches work. Glowstone works better because you can hide it under your farm design.
Optimizing Mob Farms
This one catches people off guard.
Your mob farm works perfectly in a plains biome. You move it to a colder area and suddenly mobs aren’t flowing through your water channels anymore. The water froze overnight and now you’ve got mobs piling up in the wrong spots.
I saw this happen to a friend after two weeks of building an elaborate skeleton farm. He didn’t realize the biome temperature would affect his water mechanics.
The solution? Embed heat sources before winter hits. Put jack o’lanterns under your water channels or space out glowstone blocks beneath slabs. The water stays liquid and your farm keeps running no matter what biome you’re in.
Building & Aesthetics
Some of my favorite builds involve water features in snowy settings. Fountains, moats, decorative pools.
But you can’t just place water and call it done. Within one game cycle, you’re looking at ice blocks instead of flowing water.
After months of testing different approaches, I found that hidden light sources are your best friend. Tuck torches under stairs. Place sea lanterns beneath carpet. The light level stays high enough to prevent freezing but your build still looks clean.
You can check out more building techniques in our minecraft tutorials altwayminecraft section.
Ice Harvesting vs. Melting
Now here’s where it gets interesting.
Sometimes you don’t want to melt ice at all. If you’ve got a Silk Touch pickaxe, harvesting ice blocks gives you building material. Packed ice for racing tracks. Blue ice for super-fast transportation systems.
Knowing how to unfreeze water in minecraft altwayminecraft is useful, but knowing when not to unfreeze it? That’s the real skill.
I keep ice farms separate from my water sources now. Different goals, different methods.
Proactive Strategy: How to Prevent Ice from Forming
Most guides tell you how to fix frozen water.
But what if you never had to deal with it in the first place?
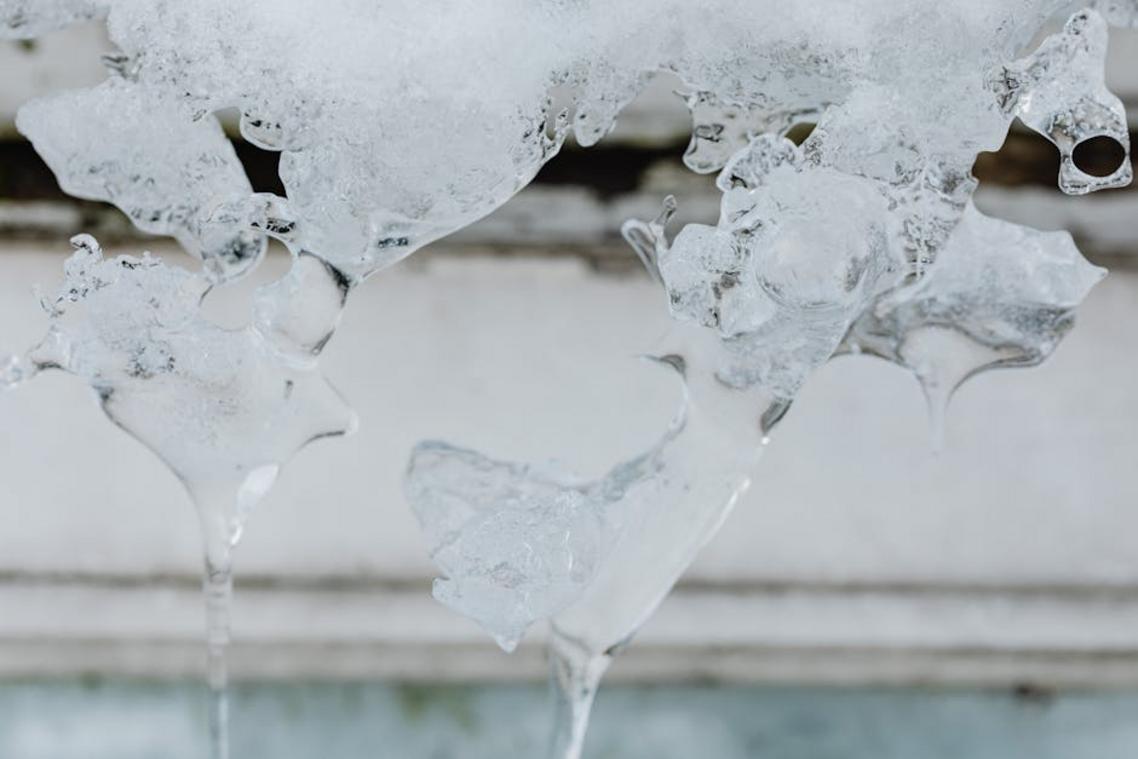
Here’s what actually happens. Water freezes in cold biomes when it can see the sky and there’s no light source nearby. That’s the basic mechanic.
Now, everyone knows about torches. Place one near your water and you’re good. But there’s a better way that most players miss.
Non-solid blocks.
Put a slab, stair, or even a piece of string directly above your water source. The water thinks it’s covered. It can’t see the sky anymore. And here’s the kicker: it won’t freeze. No torches needed.
I stumbled on this while building an ice farm (yeah, I wanted ice in one spot but not another). String works perfectly because you can barely see it. Your pond looks open but stays liquid.
Some builders say lighting is cleaner. They’re not wrong if you’re going for aesthetics. A few torches around a decorative pond can look nice. And it’s permanent.
But for functional builds? The block method wins.
The simplest fix is just building a roof. If your water is in a contained space anyway, throw some blocks over it. Done.
What competitors won’t tell you is that you can mix these methods. I use string for natural-looking ponds and roofs for storage areas. Torches only when I want the light anyway.
Learning how to unfreeze water in minecraft altwayminecraft is useful. But preventing the freeze saves you time every single session.
Pick the method that fits your build. Your water stays liquid and you move on to actually playing the game.
Mastering the Elements in Your Minecraft World
You now have a complete toolkit for handling ice in your world.
You can thaw what’s already frozen. You can stop ice from forming in the first place. And you know exactly which tools work best for each situation.
No more frozen farms ruining your crops. No more slippery pathways messing up your builds in snowy biomes.
The solution is simple: Use direct light sources like Torches when you need straightforward heat. Try Magma Blocks or Campfires for alternative options. Build smart from the start to prevent ice before it becomes a problem.
You control the water and ice now. Not the other way around.
Here’s what to do next: Jump back into your world and test these methods. Start with your most annoying frozen spot and work from there. How to unfreeze water in minecraft altwayminecraft gives you everything you need to build bigger and better projects, regardless of temperature.
The cold biomes don’t have to slow you down anymore.
Get building.
 Ness Mitsosaris founded Altway Minecraft to merge deep strategic analysis with the vibrant culture of gaming. By focusing on game design insights and mastery tips, he has built a platform dedicated to helping players sharpen their skills and stay ahead of evolving industry trends. Through his leadership, the site serves as a vital resource for those looking to understand both the mechanics and the artistry of the modern gaming landscape.